
Use the video and step-by-step drawing instructions below to learn how to draw Disney/Pixar's Wall-E. A new drawing tutorial is uploaded every week, so stay tooned!
Intro: To draw Wall-E, start off with a pencil sketch. In the beginning stages, don’t press down too hard. Use light, smooth strokes for sketching.
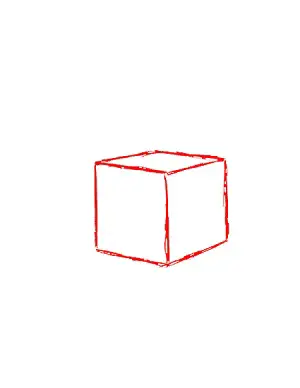
Step 1: Start by drawing a cube or box in the middle of the page. You can start with a square and extend the corners toward the back thus creating a cube. This will be a basic guide for Wall-E’s body.
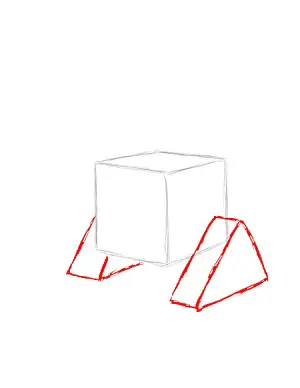
Step 2: On either side of the body, near the bottom, draw two thick triangle blocks. These will be guides for the track that Wall-E uses to roll around on. Make sure to draw the shapes parallel and make them align with each other at the front, otherwise the tracks will appear uneven.
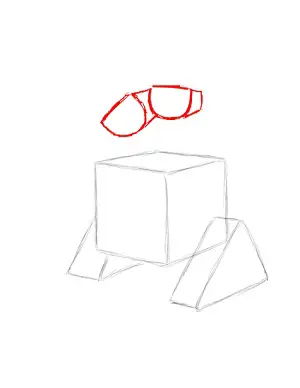
Step 3: Above the body, draw the guides for Wall-E's eyes. They are made up of two half circles that are a bit tilted to the left. Then extend the sides of the circles toward the back to make them thicker and three-dimensional.
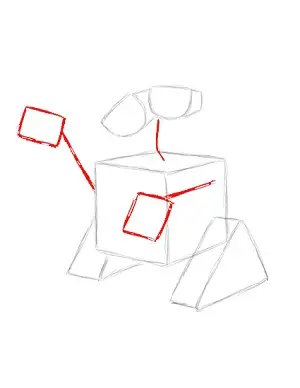
Step 4: Draw an angled line below Wall-E's eyes as a guide for the neck. On the sides of the body, draw two straight lines for the arms. At the end of each arm draw a square/rectangle for Wall-E's hands.
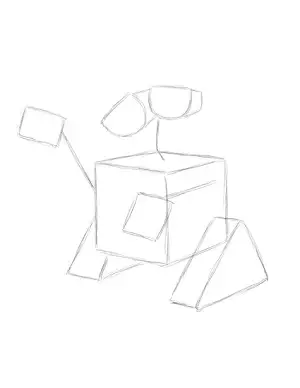
Step 5: That's it for the initial sketch of Wall-E! You have the basic Wall-E shape, so now go in and tighten your drawing. From this point on, press harder with your pencil in order to get darker lines and a more defined sketch.


