
Use the video and step-by-step drawing instructions below to learn how to draw Rigby the raccoon from Cartoon Network's Regular Show. A new cartoon drawing tutorial is uploaded every week, so stay tooned!
Intro: Start off with a pencil sketch. In the beginning stages, don’t press down too hard. Use light, smooth strokes for sketching.
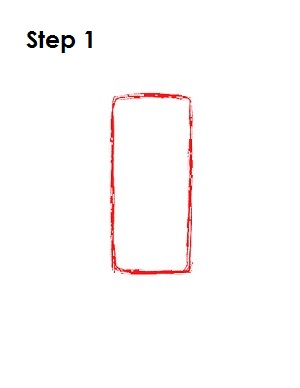
Step 1: Start with a long rectangle in the middle of the page. It doesn’t have to be perfect. It’s just a guide for Rigby's head and body.
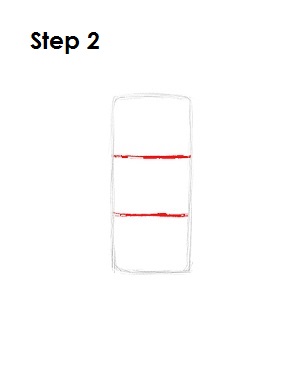
Step 2: Next, draw two horizontal lines inside the rectangle that divide the shape into three equal parts. The top square-like shape will be Rigby's head the bottom two will be his body.
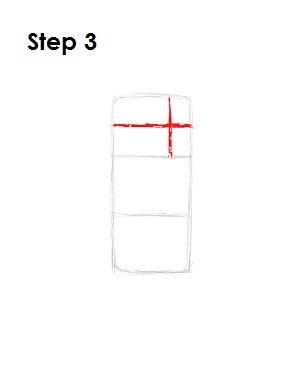
Step 3: Draw two intersecting lines across the head shape, one vertical and one horizontal. The vertical line should be close to the right side, while the horizontal line should be near the middle. These will be construction lines that will help you place Rigby's facial features later on.
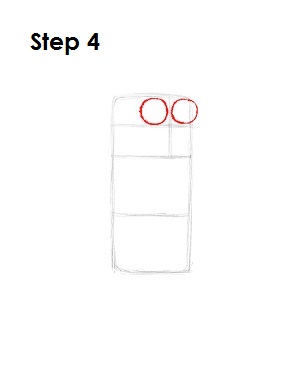
Step 4: Draw two circles as guides for Rigby's eyes. Draw them sitting on top of the horizontal construction line and on either side of the vertical construction line. The eye on the right should extend outside of the main rectangle shape a little bit.
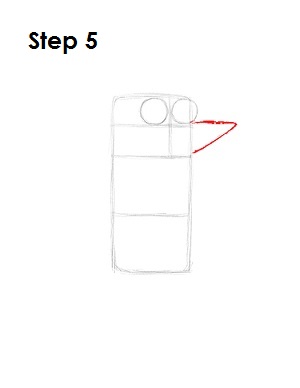
Step 5: Draw an angled line similar to a triangle outside of the main rectangle shape on the right side. The line starts under the right eye at the end of the horizontal construction line and moves outward to the right, then angles down diagonally toward the bottom of Rigby's head.


