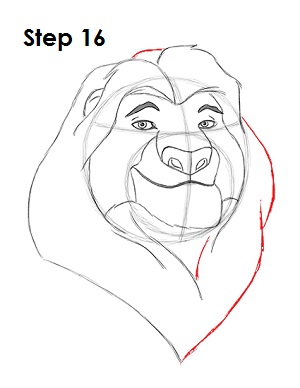
Step 16: Draw a series of curved lines on the right side of the head as the final outer part of the mane. The lines connect at the bottom to form the tip of Mufasa's mane. Draw an extra line under the chin and another at the top of Mufasa's head.
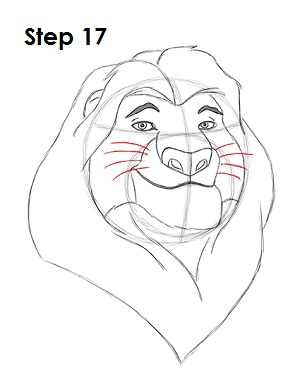
Step 17: Using quick strokes, draw four lines on either side of the muzzle for Mufasa's whiskers. Don't make these lines too thick; the whiskers should be thin.
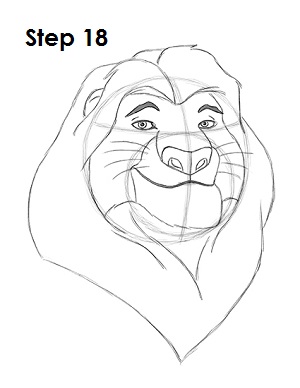
Step 18: That's it! You now have a nice sketch of Mufasa from Walt Disney's The Lion King. You can stop at this quick drawing for a rough, sketchy look or go for a more finished look by continuing to the step below.
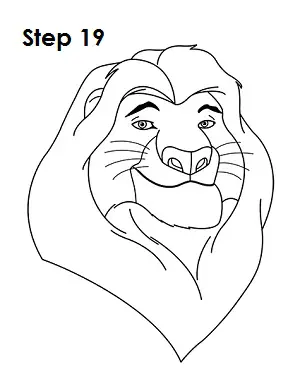
Step 19: For a more finished, inked look, carefully draw over the final sketch lines with a pen or marker. Wait for the ink to dry, and then get rid of every pencil mark with an eraser. You now have a finished inked drawing of Mufasa! You can stop here or go to the final step to complete your Mufasa drawing.
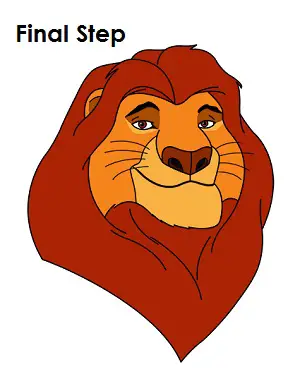
Final Step: For a completely finished Mufasa drawing, you have to color it. You can use markers, color pencils or even crayons! Color his mane light brown and red. The area above his eyes are dark brown. The area under his eyes and his muzzle are light yellow. His eyes and nose are brown, and his face is yellow-orange. That's it! You now have a completed drawing of the Mufasa from Walt Disney's The Lion King movie.


