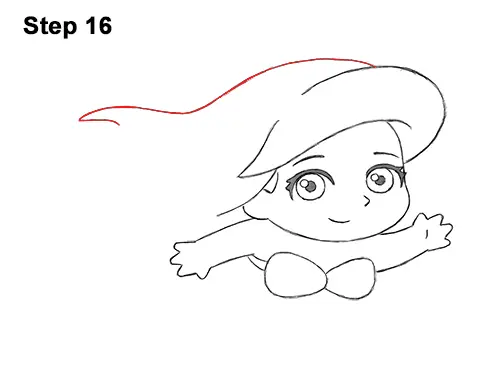
Step 16: Draw a long, wavy line starting at the top of the head and moving toward the left for the rest of mini Ariel's hair. The line should dip down, then curve up slightly and finish downward again. Add a smaller line at the bottom to give the clump of hair a pointy tip.
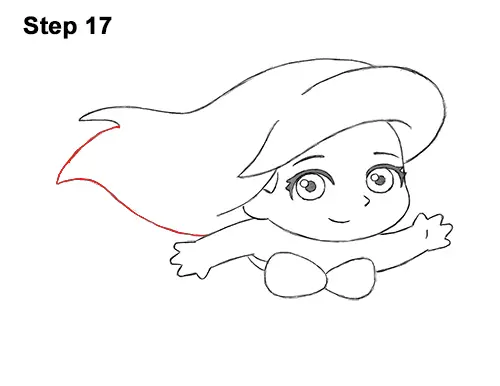
Step 17: Continue drawing chibi Ariel's hair by adding another pointy tip on the left side. Make this tip wider. Keep drawing the curved line for the bottom of the hair until it reaches the arm on the left.
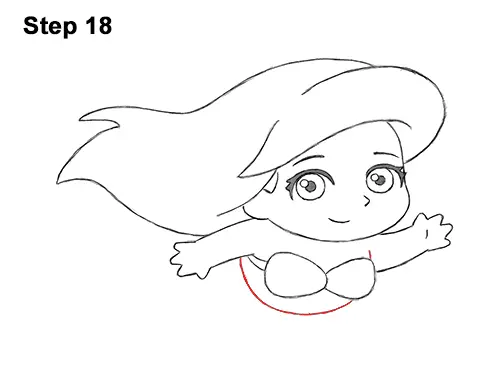
Step 18: Draw a long, curved line under the bra for the rest of mini Ariel's torso. The line should start under the arm on the left and curve toward the right side of the bra.
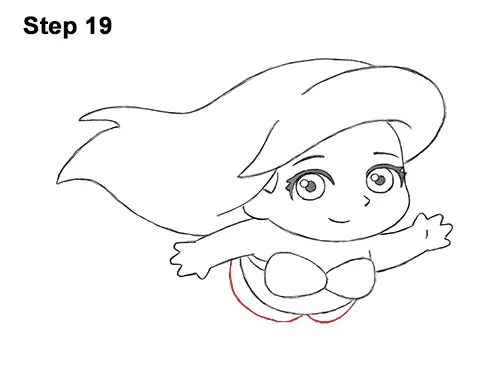
Step 19: Draw two curved lines under the torso for the fin-like sections at the base of Ariel's tail. The line on the right should be shorter because of the perspective.
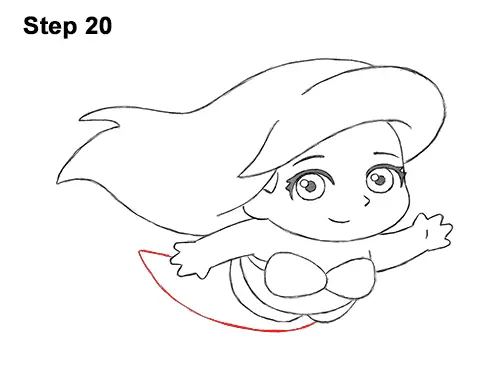
Step 20: Draw a long curved line under the torso for the bottom part of Ariel's mermaid tail. The line should start under the fin- like shape on the right, then curve and end to the left of the hand. The top of the tail is just a small line. The rest of the tail is hidden behind the arm.


