
Use the video and step-by-step drawing instructions below to learn how to draw Scooby-Doo. A new drawing tutorial is uploaded every week, so stay tooned!
Intro: Start off with a pencil sketch. In the beginning stages, don’t press down too hard. Use light, smooth strokes for sketching.
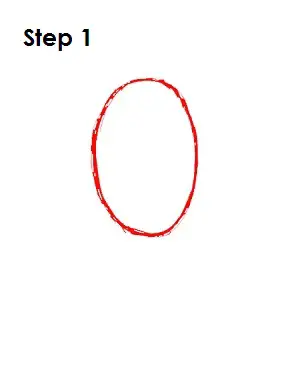
Step 1: Start by drawing a long oval in the middle of the page. The oval doesn’t have to be perfect. It’s only a guide for Scooby-Doo’s head.
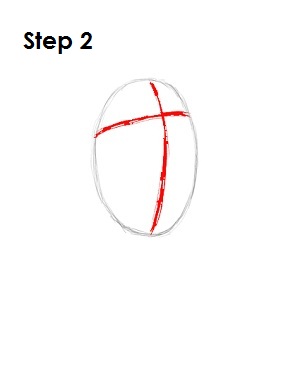
Step 2: Next, draw two intersecting lines across the oval, one vertical and one horizontal. The vertical line should be close to the right side and the horizontal line should be close to the top of the oval. These are construction lines that will help you place Scooby-Doo’s facial features later.
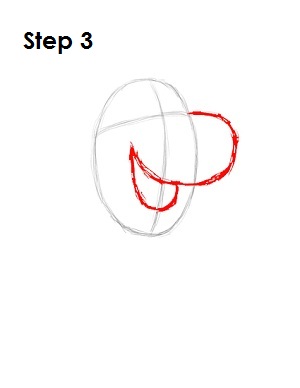
Step 3: To the right of the horizontal construction line, draw a line that goes outside of the oval, turns down and then enters the oval. End the line to the left of the vertical construction line just below the horizontal construction line. Below that line, draw another line that resembles the letter U. This will be a guide for Scooby-Doo’s muzzle and mouth.
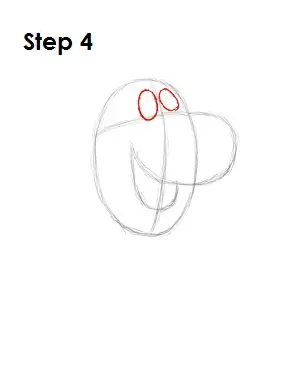
Step 4: On top of the horizontal construction line, draw two small ovals. These will be guides for Scooby-Doo’s eyes.
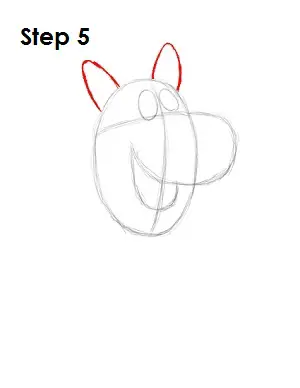
Step 5: Above Scooby-Doo’s head, draw two pointy arches as guides for his ears.


