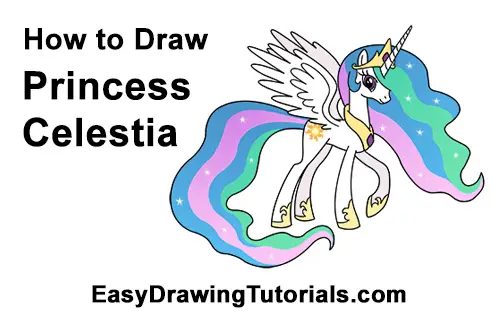
Use the video and step-by-step drawing instructions below to learn how to draw Princess Celestia from My Little Pony. A new cartoon drawing tutorial is uploaded every week, so stay tooned!
The speed drawing video:
The written step-by-step video tutorial:
Intro: Start off with a pencil sketch. In the beginning stages, don’t press down too hard. Use light, smooth strokes for sketching.
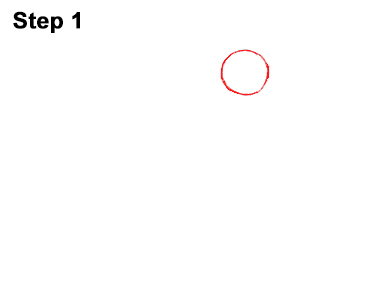
Step 1: Draw a small circle on the top, right side as a guide for Princess Celestia's head. First draw some marks for the height and width of the circle, then connect the marks using curved lines. Sketch it out lightly at first, then darken the lines when you get it right. Don't worry if the circle isn't perfect. It's just a guide. If you would still like a perfect circle, you can just trace the edge of a coin or anything circular.
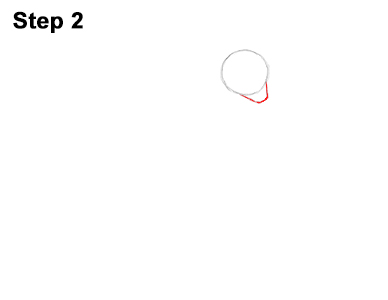
Step 2: Draw a small arc on the lower, right side of the head as a guide for the muzzle. The tip of the muzzle should be a little flat.
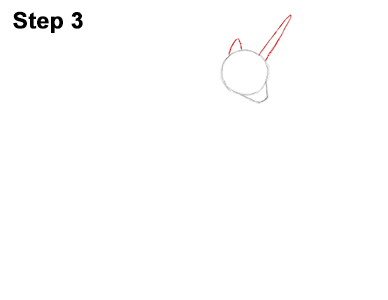
Step 3: On the top, left side of the head, draw a small, triangle- like shape as a guide for the ear. Add a longer, thinner, triangle-like shape on the right side as a guide for the horn.
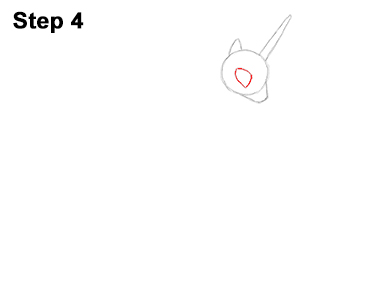
Step 4: Inside the head, near the middle, draw a guide for the eye. The shape should be similar to a triangle with curved sides. The bottom part of the "triangle" should face the lower, left side of the head.
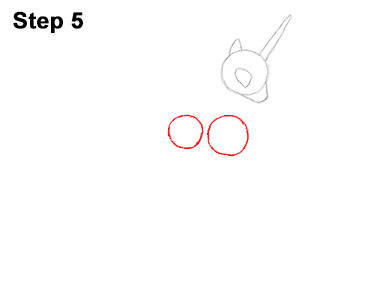
Step 5: Draw a small circle under the head as a guide for the front part of the body. Don't place the circle too far below the head, otherwise she'll end up with a long neck. Add another circle on the left for the back portion of the body. The circle on the left should be smaller than the one on the right.


