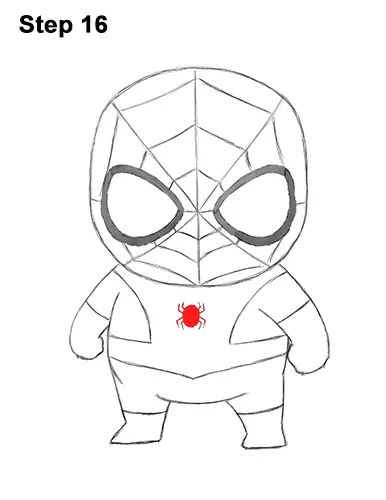
Step 16: Draw a small oval on the chest and shade it in for the first part of Spider-Man's logo. On the top part of the oval, draw four tiny lines (two on each side) that curve up for the spider's first legs. Draw four more tiny lines on the lower half of the oval but curve them down this time.
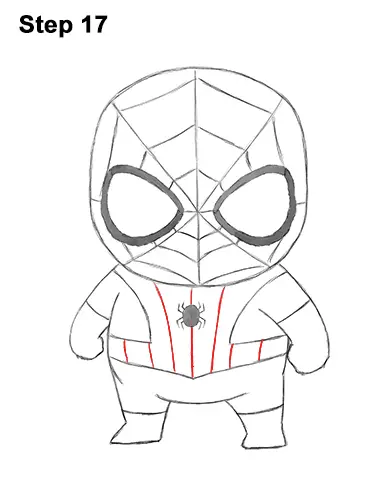
Step 17: Draw a series of vertical lines within the design on the body for the first part of the webbing. Don't add too many lines. Two on either side of mini Spider-Man's "belt" and three long ones across the chest should be good.
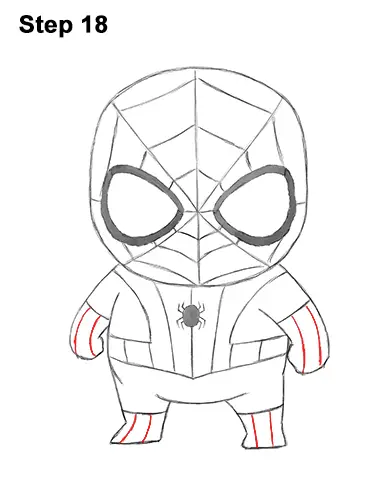
Step 18: Add a few more vertical lines inside Spidey's gloves and boots for more webbing. Again, don't draw too many lines. Two lines inside each glove and boot should be good.
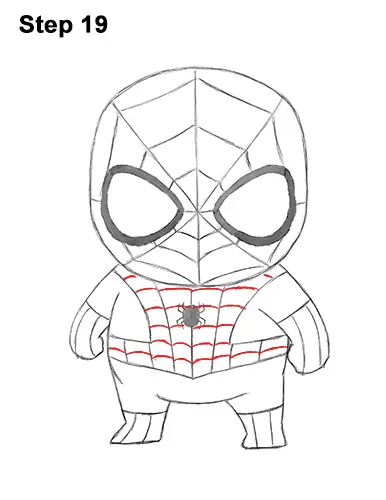
Step 19: Inside the design on the body, between the vertical lines, draw a series of tiny curved horizontal lines. First draw a row of them across the middle of the "belt." Then continue drawing them up toward Spidey's head. It's okay to overlap the spider logo. Remember, don't overdo it with these lines. Separate them enough so that you don't have to add too many.
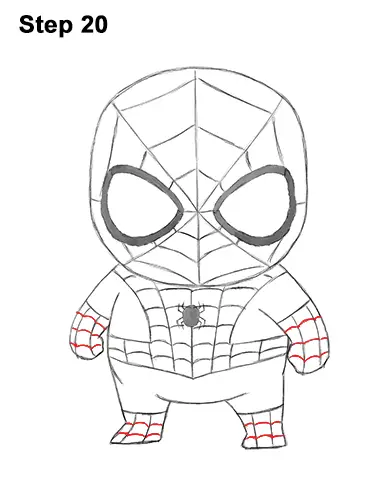
Step 20: Draw the short horizontal lines on chibi Spider-Man's gloves and boots as well. For the gloves, add three of these lines between each vertical line. For the boots, add two short horizontal lines between each vertical line.


