




Use the super easy step-by-step instructions below to learn how to draw Super Sonic. Follow along with the video, or use the images in this article. By the end of this tutorial, even beginners will have a completed drawing of Super Sonic!
Love drawing? Keep your artistic streak going and stay "tooned" for more free art lessons by:
- Bookmarking the EasyDrawingTutorials.com homepage for updates
- Subscribing to the EasyDrawingTutorials YouTube channel
- Visiting How2DrawAnimals.com for free animal tutorials
- Visiting How2DrawManga.com for free manga tutorials
This page contains Amazon affiliate links. If you choose to purchase through these links, I earn a small commission at no extra cost to you.
RELATED TUTORIALS
 |
 |
 |
 |
 |
Materials You’ll Need
Before starting, gather these basic drawing supplies:
- Pencil (an HB lead pencil is best for light sketches)
- Eraser
- Black ink pen or marker
- Drawing paper
- Colored pencils or markers
Sketch Guidelines
Building a solid initial sketch is key to getting your character's proportions right. Draw these simple shapes first before adding the details on Super Sonic.
Step 1: Head and Body Sketch
- Draw the Head Circle: Sketch a light circle in the center of the page. To easily draw a circle, first make small pencil marks for the height and width. Then connect the marks with curved lines. If you have trouble drawing circles freehand, you can always trace a small circular object like a coin or bottlecap.
- Add Facial Guides: Draw a slightly curved horizontal line inside the circle near the bottom. Add a short vertical line at the top to divide the face.
- Structure the Torso: Sketch an elongated, pentagon-like rectangular shape below the head. Make it roughly the same height as the initial head circle.
- Position the Ears: Add two large, slightly curved triangles on top of the head, leaving some space between them.
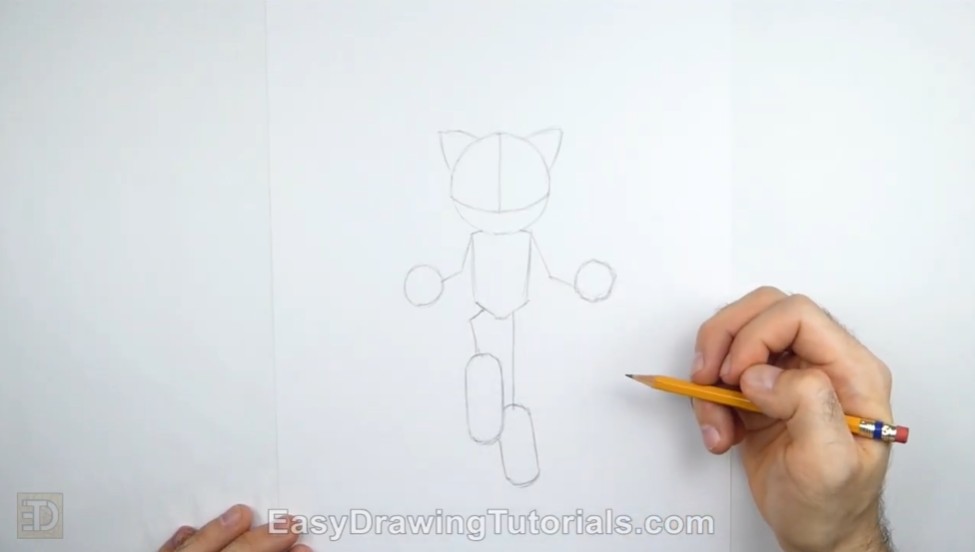
Step 2: Arms, Legs, and Feet
- Position the Arms: Extend a long, angled line from each side of the body. Sketch a small circle at the end of each line for the balled-up fists.
- Position the Legs: Draw a long vertical line on the right side and an angled line on the left side to place the legs.
- Outline the Feet: Sketch large, pill-shaped ovals at the bottom of the leg lines. Keep the sides straight and make them nearly as long as the torso.
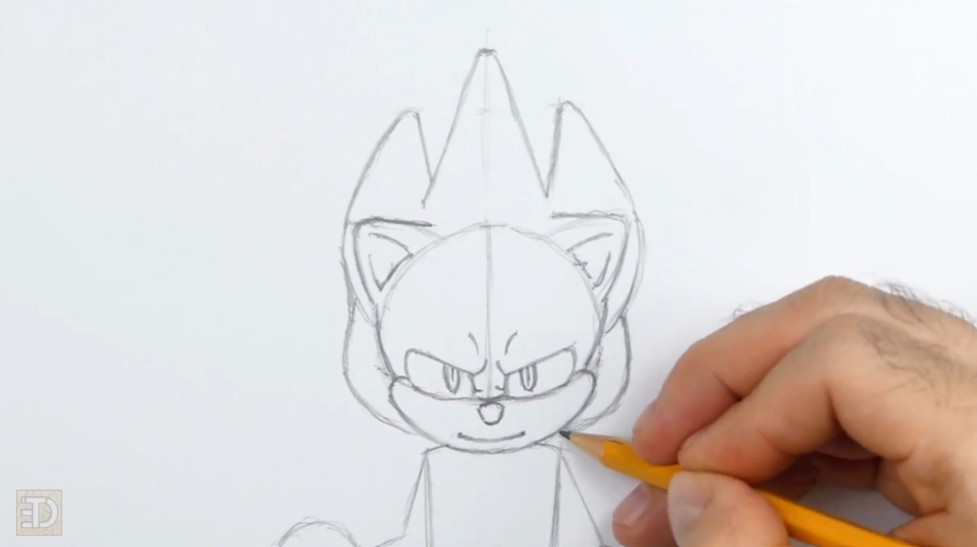
Step 3: Drawing the Facial Features and Spikes
- Create the Eyes: Sketch large, rectangular eyes resting on the horizontal construction line. Add a fierce, downward-curving brow and long, vertical ovals for the irises near the center.
- Define the Muzzle and Nose: Draw a wide curve below the eyes for the muzzle, then add a small nose. Place a curved mouth line close to the bottom edge of the initial circle.
- Add the Upward Spikes: Sketch three big hair spikes on each side of the head using curved lines.
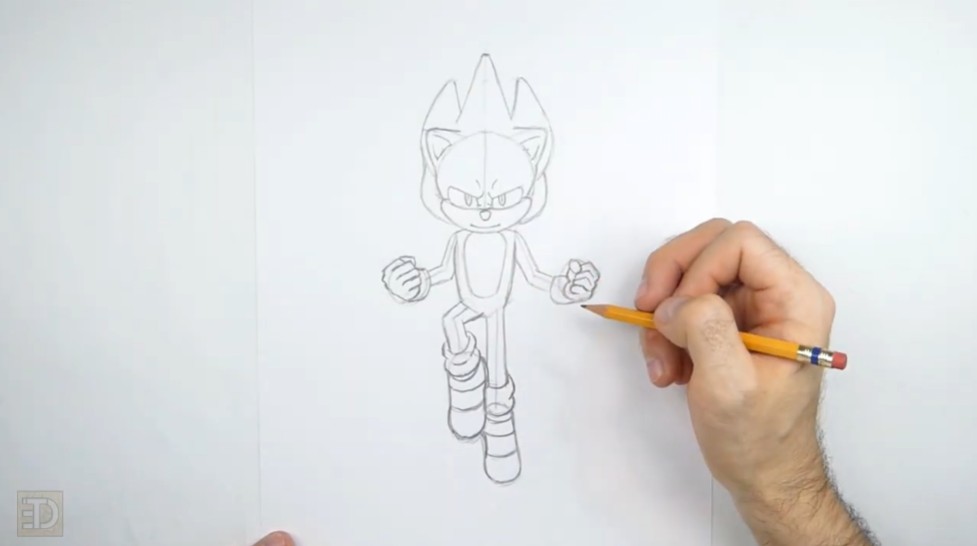
The Finishing Touches
Now it's time to add the final details and bring Super Sonic to life with color!
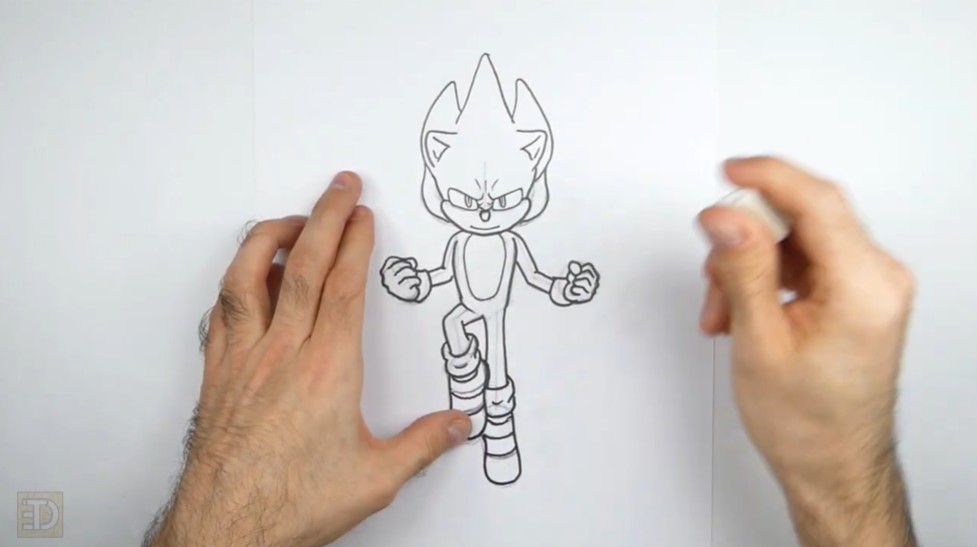
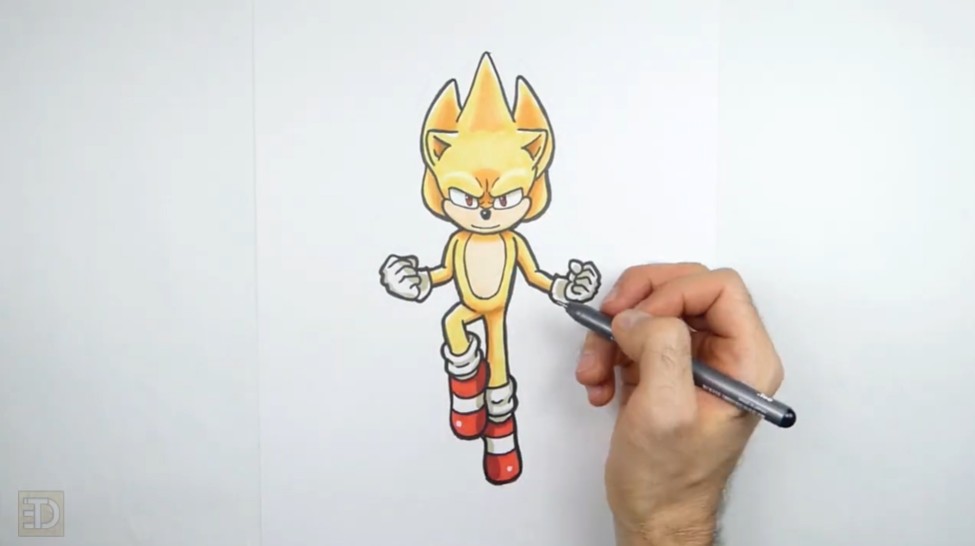
- Flesh Out the Body: Thickening the arms and legs by drawing parallel lines around your guides. Add thick cuffs at the wrists and soft, creased sock rings at the ankles.
- Detail the Gloves and Shoes: Use interlocking angles to define the knuckles and fingers on the fists. Add the signature decorative straps across the long, downward-pointing shoes.
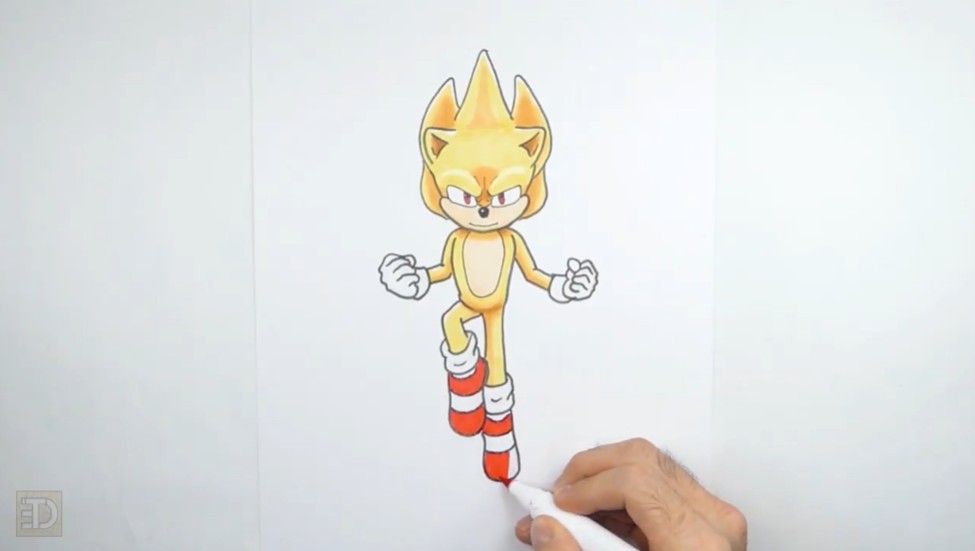
- Ink and Color the Drawing: Trace your final lines with a permanent ink pen, erase the pencil guides, and fill the drawing with yellow, red, and light peach.
Final Tips for Drawing Cartoon Characters
Improving your drawing skills takes practice and patience. Keep these techniques in mind:
- Sketch lightly before committing to final lines so mistakes are easy to erase.
- Use construction shapes to maintain correct proportions across the head and body.
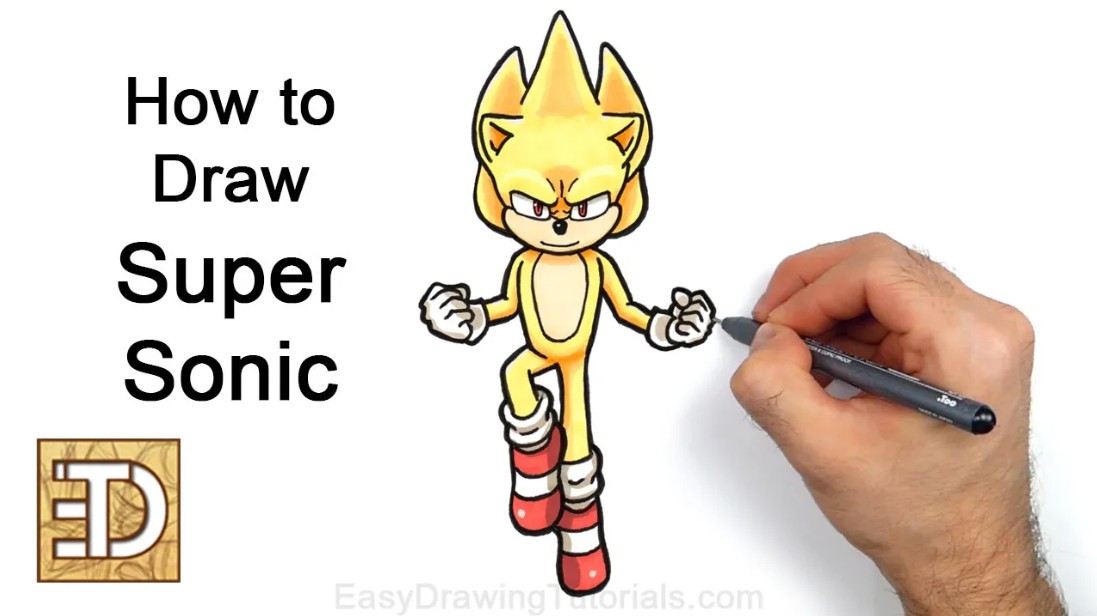
With consistent practice, drawing characters like Super Sonic becomes much easier and enjoyable!
RELATED TUTORIALS
|
|
|
|
|
Thanks for visiting! Subscribe to the EasyDrawingTutorials YouTube Channel for a new tutorial every week.
To learn how to draw animals, visit How2DrawAnimals.com.